Introduction
I am in the process of migrating my blog site to use Next.js and React. In this article, I will focus on developing the homepage by moving static content into components, which will be made dynamic later on.
Setting Up the Project
After installing a new Next.js application, refer to
"NextJS: A First Look" for guidance on creating a new Next.js project.
Once the application is set up, the next steps involve installing Bootstrap
and creating essential components for navigation, hero section, and home
content. These components will then be integrated into the root layout and
page.tsx.
Installing Bootstrap
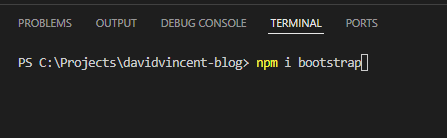
To begin, install Bootstrap by opening your terminal in Visual Studio Code from within your project root folder and running the following command:
npm install bootstrap
This command installs Bootstrap into your node_modules folder.
Importing Bootstrap CSS
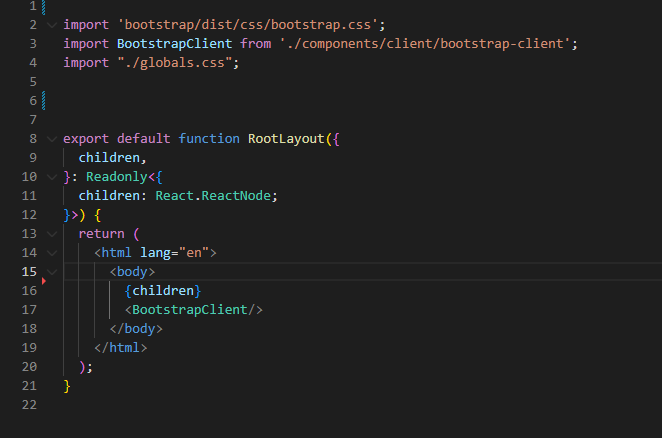
To use Bootstrap's CSS in your layout, import it from the Bootstrap distribution folder. Add the following import statement:
import 'bootstrap/dist/css/bootstrap.css'Adding Bootstrap JavaScript
To incorporate Bootstrap's JavaScript functionality, create a new function
component named BootstrapClient within a
components/client folder.
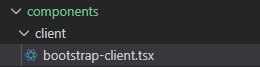
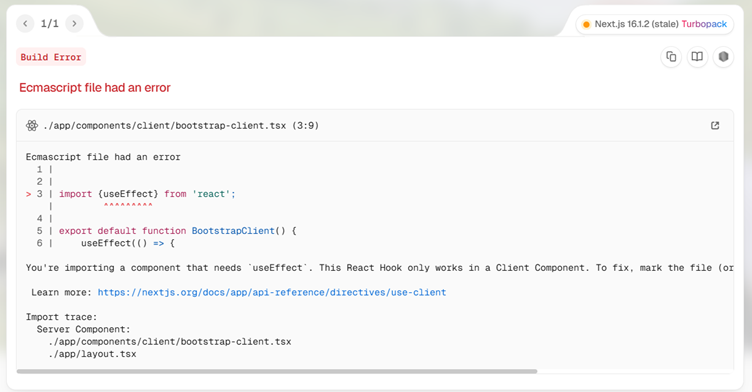
This function must be client-side, making use of React's
useEffect() hook.

Remember to add
'use client' at the top of the file to avoid errors.
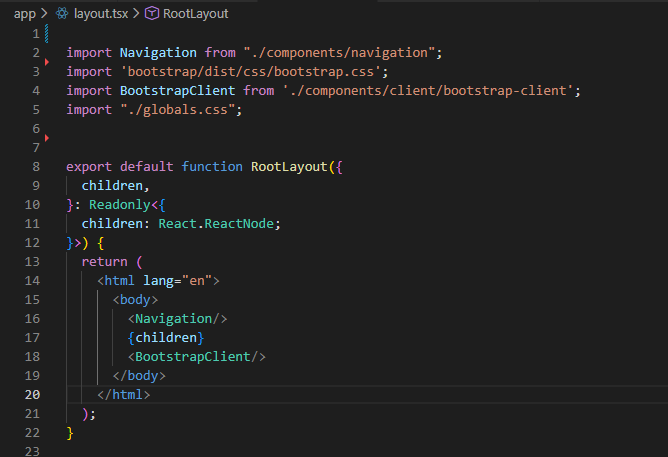
Integrating BootstrapClient Component
Add the new BootstrapClient function component to the body of
the RootLayout component.
Extending the RootLayout with Children Props
To facilitate the extension of the component, include the
children props in the body of the RootLayout.
Add Navigation Component
Create a Navigation component and add the markup for the navigation.
Import the Link component from next/link and use
it within the navigation markup.
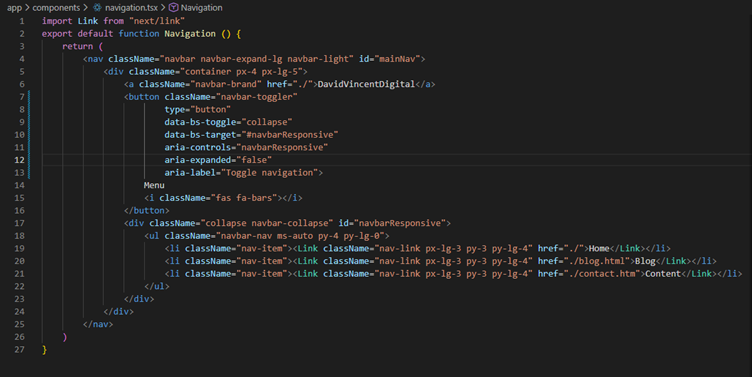
Add the navigation to the root layout.
Building Homepage Components
- Add a background image component.
- Add a Hero component.
- Add the Hero component to the page.
- Add navigation.
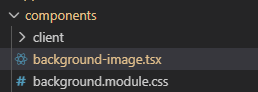
Add a Background Image Component
Create a new function component BackgroundImage within the
components folder for the hero background image.

Create a background.module.css file to hold the CSS for the
background image.
Add background class to the CSS file and add a z-index to setimage as the background
.background {
                        z-index: -1;
                        }
Import Image from next/image and import the styles
from the newly created CSS module file.
Add the Image with the following attributes:
- src - URL of the image file
- layout - fill
- objectFit - cover
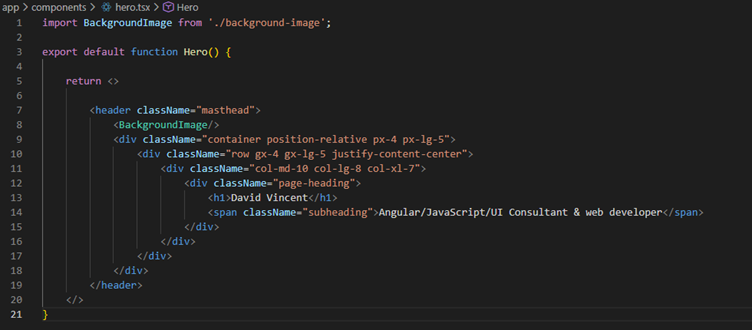
Add a Hero Component
Create a Hero function component and add the markup for the Hero content. Import the background image component and include it in the Hero component.
Add HomeContent Component
Create a HomeContent function component and add the markup to return the content of the home page.
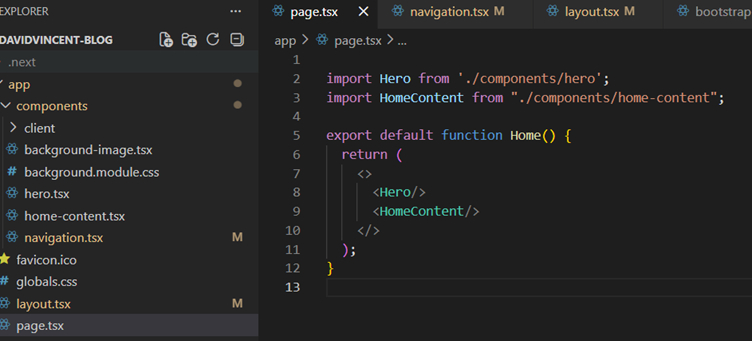
Add the Hero and HomeContent Components to the Page
Import the Hero and HomeContent components and add them to
page.tsx.
Run App
From the command line type:
npm run devto run the application.
 Cover photo by GoldDuck on Freeimages.com